The WalletConnect Report is here!
Download report
Blog Home
Tutorial
|
January 30, 2024
Photo of Tom Terado
Tom Terado
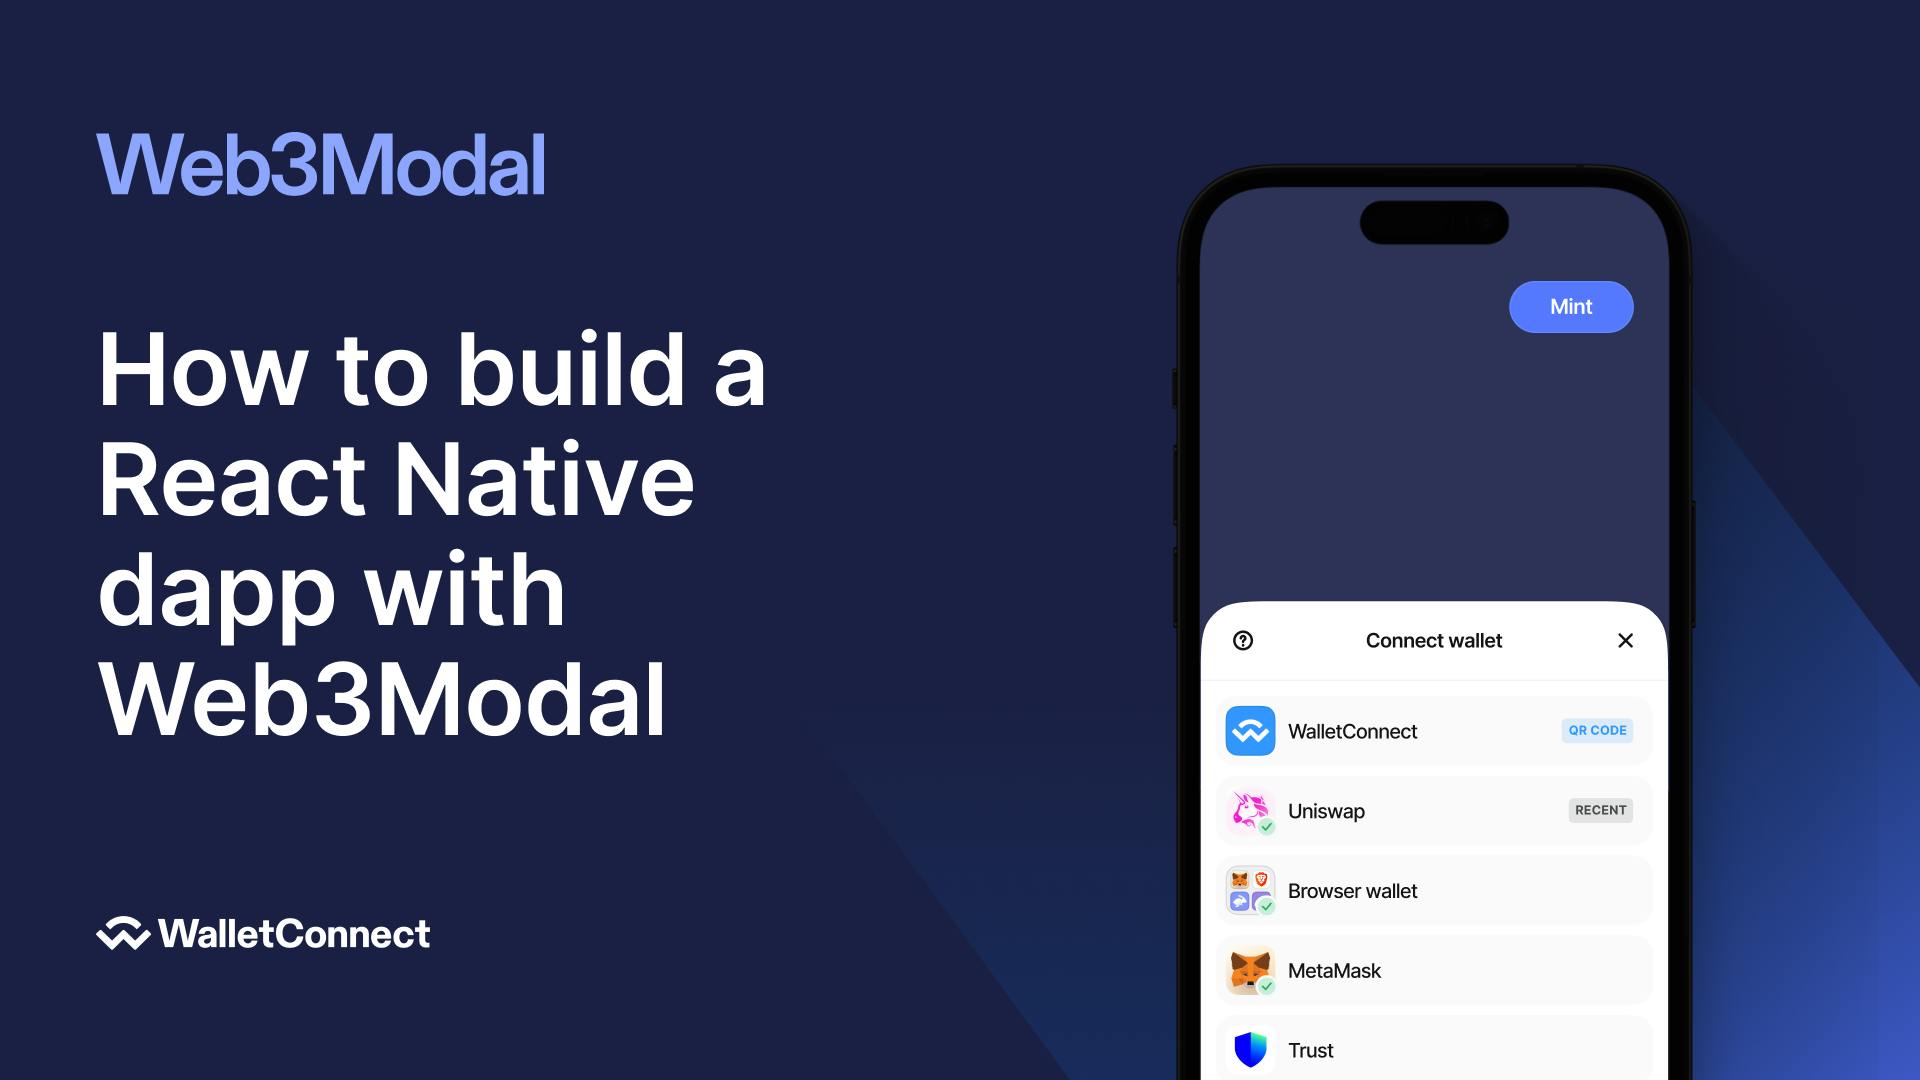
How to build a React Native dapp with Web3Modal

In this tutorial, we will build a simple NFT minting app with Web3Modal React Native using WalletConnect and Expo. We will walk through setting up your project environment and the process of connecting a wallet and interacting with a smart contract for NFT minting. This guide is ideal for developers who are looking to build great web3 mobile native experiences.

Prerequisites

  • Have some preliminary knowledge about React Native and Expo.
  • Have a mobile device (iOS or Android) with Expo Go installed. Register for an account at expo.dev for an easier flow.
  • Install a browser extension wallet (i.e. MetaMask or Zerion)
  • Install a mobile extension wallet (i.e. MetaMask or Zerion)
  • Install the Expo Go app on your iOS or Android phone and connect to the same wireless network as your computer. On Android, use the Expo Go app to scan the QR code from your terminal to open your project. On iOS, use the built-in QR code scanner of the default iOS Camera app. Follow the Expo instructions here for further setup.
  • Read our documentation here.
  • Go to cloud.walletconnect.com and get a ProjectID.

Follow along to the YouTube video of this tutorial below; the example code is also available here.

Installation

Let’s create a simple TypeScript Expo template via this command.

npx create-expo-app -t expo-template-blank-typescript

Then, we will proceed to install the Web3Modal packages.

npx expo install @web3modal/wagmi-react-native wagmi viem

The below packages are to supplement the other requirements.

npx expo install @react-native-async-storage/async-storage react-native-get-random-values react-native-svg react-native-modal @react-native-community/netinfo @walletconnect/react-native-compat

Usage

Let’s open up our App.tsx and then add in the initial usage, which will initialize the Web3Modal usage and the Connect button.

Make sure to use your project ID from our Cloud platform.

From top to bottom, this code will:

  1. Import all relevant dependencies. Ensure that the react-native-compat package is installed at the top
  2. Sets up the wagmi and web3modal configuration
  3. Renders the UI via the View and the W3MButton
import "@walletconnect/react-native-compat";
import { WagmiConfig } from "wagmi";
import { goerli } from "viem/chains";
import {
  createWeb3Modal,
  defaultWagmiConfig,
  Web3Modal,
} from "@web3modal/wagmi-react-native";
import { View, Text, StyleSheet, Button } from "react-native";
import React from "react";
import { W3mButton } from "@web3modal/wagmi-react-native";

// 1. Get projectId at <https://cloud.walletconnect.com>
const projectId = "XXX";

// 2. Create config
const metadata = {
  name: "Web3Modal RN",
  description: "Web3Modal RN Example",
  url: "<https://web3modal.com>",
  icons: ["<https://avatars.githubusercontent.com/u/37784886>"],
  redirect: {
    native: "YOUR_APP_SCHEME://",
    universal: "YOUR_APP_UNIVERSAL_LINK.com",
  },
};

const chains = [goerli];

const wagmiConfig = defaultWagmiConfig({ chains, projectId, metadata });

// 3. Create modal
createWeb3Modal({
  projectId,
  chains,
  wagmiConfig,
});

export default function App() {
  return (
    <WagmiConfig config={wagmiConfig}>
      <Web3Modal />
      <View style={styles.container}>
        <W3mButton balance="show" />
      </View>
    </WagmiConfig>
  );
}

const styles = StyleSheet.create({
  container: {
    flex: 1,
    backgroundColor: "#fff",
    alignItems: "center",
    justifyContent: "center",
  },
});

Deploying the smart contract

Now that we have the basic wallet functionality set up, we need to set up the smart contract we will be interacting with. We will use the OpenZepellin Contract Wizard here and make a ERC721 contract. See below for what the wizard should look like.

Let’s edit the code for our tutorial.

  • Rename your token to Web3Modal
  • Token Symbol: W3M
  • Leave base URI
  • Checkmark the Mintable and Auto Increment ID

Now let’s use Remix, a web-based Solidity IDE by clicking the Open in Remix button.

You should now have a view of Remix with the code you created with the OpenZepellin wizard (per image).

Feel free to adjust the removal of onlyOwner in the _safeMint functionality.

Now to deploy the smart contract:

  • Press Compile contract….
  • Go to the Deploy and Run transactions tab and change your environment to your browser extension (i.e. MetaMask or Zerion); it should adjust the network to “Goerli” – change to this
  • Now, deploy the contract by putting in your address as the owner/deployer
  • Then, sign the transaction to create the contract

Congratulations, you have deployed your contract!

Interacting with the smart contract

In order to interact with the smart contract, we need to talk to the code/endpoint of the smart contract known as Application Binary Interface (ABI).

In Remix:

  • Go to the Solidity Compiler tab
  • Under your token contract, there should be a copy clipboard button for ABI
  • Copy that

In your IDE:

  • Under src, create a new file called MintABI.json
  • Paste your ABI here and save it

Now, we have the ABI to talk to from the front end. 

Frontend: Mint button

Coming back to our IDE, we have two more steps: create a mint button and interact with it. To interact with EVM-compatible blockchains, we will be using wagmi, a popular Ethereum library. For the sake of the tutorial, we will be using wagmi V1.

In order to interact with smart contracts, there are two main methods: useContractRead and useContractWrite. As implied by the naming convention, one is to read data for free and one is to write to the blockchain by paying a small gas fee. 

We will be using useContractWrite with a supplementary hook called usePrepareContractWrite. Documentation for these hooks are here and more can be found on the left hand side of the menu.

Let’s adjust our App.tsx.

  • Import wagmi hooks and the mintABI
  • Add in the wagmi hooks as per the documentation: Add in the address where your contract was deployed at (this can be found in Remix) and the desired address you want to mint the NFT
  • Add in a mint button in the rendering via a Pressable
  • On the condition of a successful mint, display the transaction data
...

import { useContractWrite, usePrepareContractWrite } from 'wagmi'
import mintABI from "../abis/MintABI.json";

...
export default function App() {
...

// Writing to the Contract
  const { config } = usePrepareContractWrite({
    address: "XXX", // Your Contract Address
    abi: mintABI,
    functionName: "safeMint",
    args: ["XXX"], // Your Address
  });

  const {
    data: mintData,
    isLoading: isLoadingMint,
    isSuccess: isSuccessMint,
    write: mint,
  } = useContractWrite(config);

...
<Pressable style={styles.button} onPress={() => mint?.()}>
<Text style={styles.centerText}>Mint</Text>
</Pressable>
{isSuccessMint && (
<Text style={{ textAlign: "center"}}>
{JSON.stringify(mintData)}
</Text>)
}
...

The end result 🎉

Congratulations, you have successfully spun out a React Native Expo application, used Web3Modal, created a smart contract, and interacted with it!

If you have any questions, feel free to ask questions in our Github. For further reference on Web3Modal React Native, our documentation is here.

Recommended Articles
More articles
alt=""

Build what's next.
Build with WalletConnect.

Get started
© 2024 WalletConnect, Inc.